Now Reading: Where to Place Outdoor Home Security Cameras (Full Guide)
- 01
Where to Place Outdoor Home Security Cameras (Full Guide)
- Home
- Yard & Outdoors
- Where to Place Outdoor Home Security Cameras (Full Guide)
Where to Place Outdoor Home Security Cameras (Full Guide)
![]() Anne MaddisonHome Security, Yard & OutdoorsAugust 7, 2025248 Views
Anne MaddisonHome Security, Yard & OutdoorsAugust 7, 2025248 Views
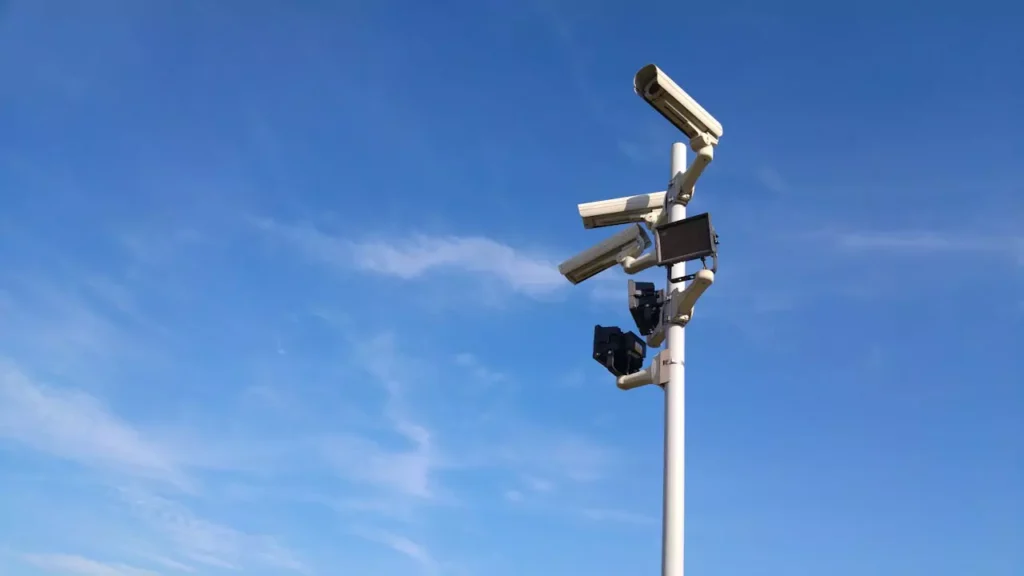
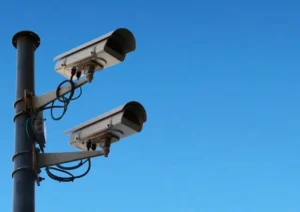
Outdoor home security cameras are one of the best ways to protect your house and feel more at ease. But simply buying a camera isn’t enough. Where you place it around your home matters just as much as the camera itself. A camera in the wrong spot might miss important moments, or worse, it might not be useful at all.
This guide will help you figure out the best places to put outdoor security cameras around your home. We’ll walk through which areas need coverage the most, where not to place them, and why it’s important to think about privacy and legal rules.
If you’re still choosing which type of camera to get, our guide on wireless vs wired home security cameras breaks down the pros and cons to help you decide. Before you buy, it’s also smart to read about the risks of having smart security cameras in your home, especially if you care about privacy and data safety.
Whether you’re installing cameras for the first time or just want to improve your setup, this article will give you everything you need to know to get started the right way.
Why Proper Camera Placement Matters
Placing your outdoor home security cameras in the right spots is just as important as having the cameras themselves. When cameras are set up correctly, they can reduce blind spots around your home, helping you see more of what’s going on. This gives you clearer images, which is helpful if you ever need to recognize a face, a car, or even just figure out what triggered the alert.
Cameras that are visible from the outside can also discourage people from trying to break in. Most intruders don’t want to be recorded, so just seeing a camera can make them think twice. It’s also important to cover the most vulnerable areas of your home, like your front door, back door, and garage. These are common entry points for both visitors and potential intruders.
If something does happen, having the right footage can help law enforcement identify what went wrong. It can even be useful when filing an insurance claim or handling a legal issue. The better your camera placement, the more reliable your footage will be. Good placement means better security for your home and peace of mind for you.
Basic Rules for Outdoor Security Camera Placement
Below are some basic rules to follow when setting up cameras around your home or yard. These tips can improve visibility, protect your equipment, and help you stay within privacy laws.
Keep cameras 8 to 10 feet off the ground
Mounting your outdoor camera too low makes it easier for someone to tamper with or steal it. If it’s too high, you might lose important details like faces or license plates. A height between 8 and 10 feet gives you the best view while keeping the camera out of easy reach.
Avoid pointing directly at the sun
When the sun shines straight into the camera lens, it can create glare and overexposure. This makes your footage hard to see, especially during sunrise or sunset. Angle your camera so it avoids direct sunlight during most of the day.
Place cameras in weather-protected spots
Outdoor cameras are designed to handle tough weather, but placing them under a roof edge, eave, or another covered area helps protect them from constant rain, direct sunlight, or snow. This can help your camera last longer and perform better over time.
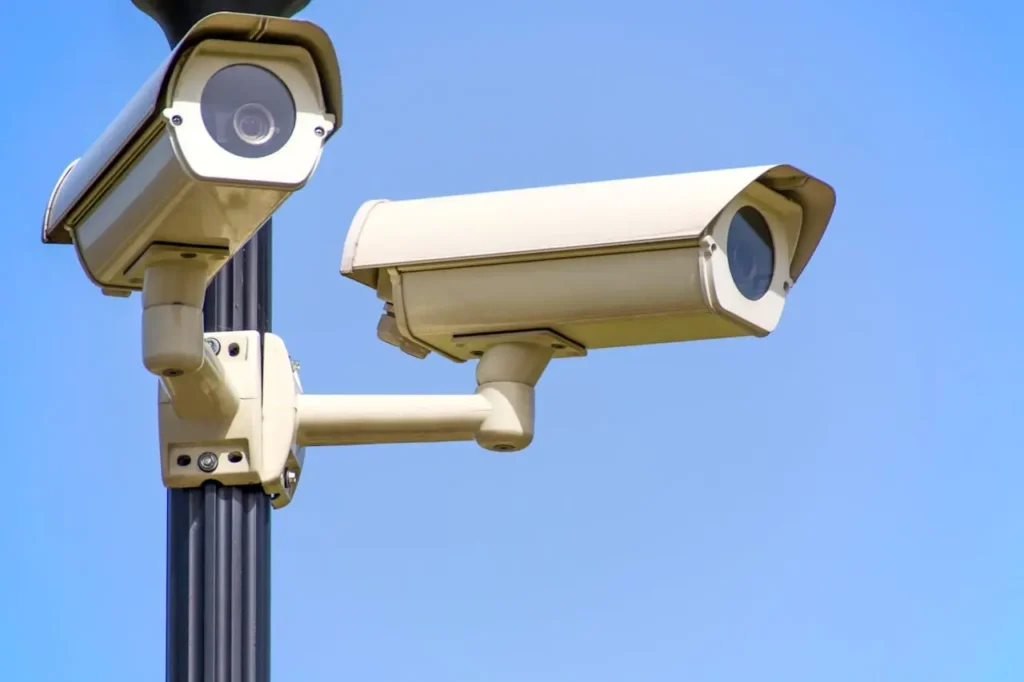
Make sure the camera is visible (for deterrence)
Sometimes, just seeing a camera is enough to stop someone from doing something wrong. A clearly visible camera near entry points or garages can discourage intruders before anything happens. It also lets people know they’re being recorded.
Or hide cameras depending on your goal (for stealth)
If your goal is to catch activity without being noticed, a hidden camera might work better. Stealth cameras are useful when you think someone might act differently if they see they’re being watched. Just make sure hiding it doesn’t block the view or reduce video quality.
Avoid placing near lights or infrared interference sources
Outdoor lights, especially motion lights, can mess with your camera’s view at night. They can create harsh glare or shadows. Also, too much infrared light from nearby sources can confuse the camera’s sensors, making nighttime footage look strange or blurry.
Respect neighbor and privacy laws
Always make sure your camera is focused on your own property. Avoid pointing it toward a neighbor’s window, yard, or any private space. Some areas have laws about where you can and can’t record, so it’s best to stay informed and respectful. This protects you from complaints or legal problems.
Best Places to Install Outdoor Security Cameras
Placing the security cameras in the right spots can make a big difference in keeping your home safe. Below are some of the best places to install outdoor security cameras, along with tips to help you get the most out of your setup.
Front door
The front door is one of the most common entry points for package theft and break-ins, which makes it the top place to install a camera. A good setup can help you monitor deliveries, unexpected visitors, and anyone approaching your home. For the best view, angle the camera from the side or slightly above the doorway. You can also use a video doorbell, which lets you see and speak to people at your door, or pair it with a separate outdoor camera for wider coverage.
Back door
Burglars often choose the back door because it’s more hidden and less likely to be seen by neighbors or people passing by. Placing a camera here gives you extra protection for areas that are usually out of sight. Mount it high enough so it’s not easy to reach, but make sure it still captures the full door and the surrounding space clearly.
Side entrances or garage doors
Side doors and garage doors are secondary access points that are sometimes overlooked, but they can be weak spots in home security. Installing a camera in these areas can help you watch over anyone trying to enter through less obvious routes. Adding a motion-activated light nearby also helps improve visibility at night. Try placing the camera overhead, either on an eave or just above the garage frame, for a clear, wide view.
Driveway
A driveway camera helps you keep an eye on your vehicles, spot potential car theft, and see who comes and goes from your property. It’s especially useful if your driveway is long or leads to a side gate or detached garage. Wide-angle cameras work well here to cover more area. You might also consider floodlight cameras, which give you both lighting and security in one device.
Backyard and fence lines
Your backyard may be open and hard to see from the street, which can make it a target for intruders. Placing cameras along fence lines, facing the yard, or near sheds and storage areas can help protect outdoor valuables. If you have a pool, it’s also a good way to monitor safety. Motion detection zones can reduce unnecessary alerts and help focus your camera on areas that matter most.
Windows and basement entrances
Windows and basement doors are other easy ways someone might try to enter your home. They’re often less secure and might be hidden from view. To cover them, mount cameras slightly above or on the opposite side for a better angle. Make sure the lens is clear of window glare by avoiding direct reflections, and adjust the angle for sharp visibility during the day and night.
Spots to Avoid or Be Careful With
While some places around your home seem like good spots for cameras, they can cause problems with visibility, legality, or image quality. Here are a few locations you might want to avoid or treat with caution when setting up your outdoor security cameras.
Neighboring property lines
It’s important to avoid aiming your camera directly at your neighbor’s home or yard. Not only can this create privacy concerns, but in some places, it may even violate local laws. Always check local privacy regulations and try to angle your camera so it only captures your own property. Using privacy zones or digital masking can also help limit what the camera records.
Inside windows pointing outward
Placing a security camera behind a window may seem like an easy way to monitor outside, but it often causes issues. Glass can create reflections or glare, especially at night when infrared lights bounce back into the lens.
If you must place a camera indoors, turn off night vision, avoid placing it opposite bright lights, and keep the glass clean. Still, an outdoor-rated camera is usually a better choice.
Areas with frequent lighting changes
Places that get direct sunlight at certain times of day—like during sunrise or sunset—can make it hard for cameras to adjust. The image might wash out or become too dark depending on the angle and exposure.
Try to avoid pointing your camera toward the sun or overly bright areas. If that’s unavoidable, choose a camera with wide dynamic range (WDR), which helps balance lighting and reduce glare.
Directly behind obstructions
Mounting a camera where it’s blocked by trees, bushes, pillars, or walls can limit what it can see and reduce motion detection accuracy. Before installing, look around the area to make sure nothing blocks the view now—or might grow to block it later. Trimming back landscaping and adjusting the angle can improve visibility and performance.
Legal and Privacy Considerations
Installing outdoor security cameras is not just about placement and quality. It is also important to understand the legal side. Recording the wrong area or capturing private conversations can lead to serious issues if you are not careful.
Can you film public sidewalks?
In most areas, it is legal to record public spaces such as sidewalks, streets, and parts of driveways that are visible from your property. However, your camera should not zoom in or follow people walking by. It is best to focus on your own property, even if part of the street appears in the background.
Rules about recording audio
Audio recording is more restricted than video in many states. Some places require the consent of one or all parties involved in a conversation. If your camera includes a microphone, you may want to turn that feature off unless you are sure it complies with local laws.
State laws about video surveillance
Surveillance laws vary by location. Some states allow video recording in any area where there is no expectation of privacy. Others have more specific rules. Check your local and state regulations or speak to a legal expert before setting up your system.
Avoid neighbor windows and yards
Never point your camera at areas that belong to your neighbors, especially if it captures windows, backyards, or other private spaces. Even if your goal is to improve security, this may be considered an invasion of privacy. Use camera settings to block or blur those areas if needed.
Tips for Getting the Best Performance
Getting your security cameras installed is just the first step. To make sure they work well every day, take a few extra steps to fine-tune their performance.
Use motion zones to reduce alerts
Most modern cameras let you set motion zones in the app. These zones tell the camera where to focus its motion detection. This helps reduce false alerts from moving trees, passing cars, or animals outside the important area.
Regularly clean and check camera angles
Dust, rain spots, and spider webs can block your view. Clean your camera lenses regularly and make sure the angle still covers what you want. Sometimes wind or time can shift the camera slightly.
Test might vision at placement time
Night vision looks different from daytime footage. After placing your camera, test it in the dark. Make sure the image is clear, the infrared light works, and there is no glare from windows or nearby lights.
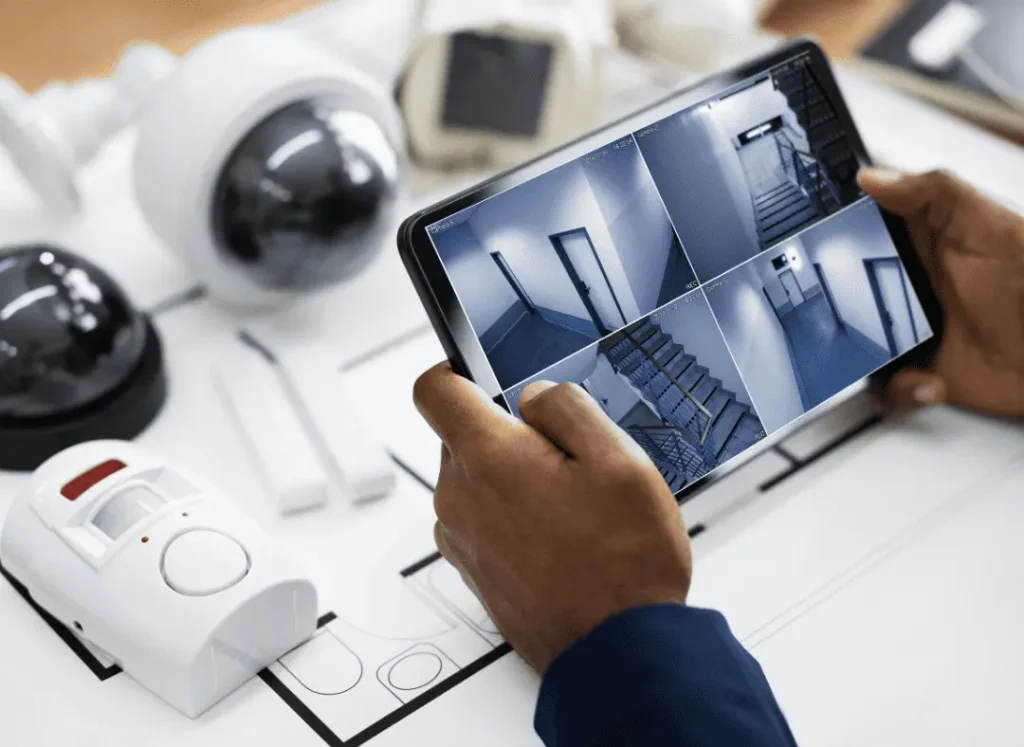
Sync with app and set up alerts
Download the camera’s app and connect it to your system. Set up real-time alerts so you are notified when motion is detected. Adjust the alert sensitivity based on your needs to avoid unnecessary pings.
Use signage to alert people of surveillance
If allowed in your area, place a sign that says the property is under video surveillance. This acts as a deterrent and helps you stay transparent. Some states or regions may require visible notice, so check your local laws before posting signs.
Common Mistakes to Avoid When Installing Outdoor Security Cameras
Even the best cameras won’t help if they are installed incorrectly. Avoid these common mistakes to get the most out of your outdoor security system.
Mounting too high or too low
If your camera is too high, you may miss important details like faces or license plates. Too low, and it becomes easier to tamper with. Aim for a height of about 8 to 10 feet to get the best view while keeping it secure.
Forgetting about Wi-Fi signal strength
Wireless cameras need a strong signal to work properly. If your camera is too far from the router, the video may freeze, lag, or fail to upload. Test the Wi-Fi signal at your chosen spot before installing.
Ignoring power supply access
Whether your camera is battery-powered, solar, or plug-in, you need to think about how you’ll keep it powered. Choose spots with easy access to outlets or good sunlight, depending on the type of camera.
Not testing field of view
After mounting the camera, always test what it sees. Make sure it covers the area you care about and avoids blind spots. Adjust the angle before tightening the mount fully.
Not considering weather exposure
Outdoor cameras should be rated for rain, sun, wind, and even snow. Check the camera’s weatherproof rating and avoid placing it where it gets direct sun all day or is likely to get blocked by ice, leaves, or water.
Tools and Accessories That Help
Having the right tools and accessories can make a big difference in how well your outdoor security cameras perform. These extras help with better placement, longer life, and more reliable performance.
Wall mounts and adjustable brackets
These allow you to angle your cameras exactly where you need them. If your mounting surface isn’t flat or the camera’s built-in mount is limited, a separate bracket gives you more flexibility.

Weatherproof covers
Even if your camera is rated for outdoor use, extra protection never hurts. A weatherproof cover can shield it from rain, snow, and direct sunlight, helping it last longer and perform better in harsh conditions.

Solar panels for power
If you’re using battery-powered cameras, solar panels can help keep them charged without needing to bring them down for recharging. This is especially helpful in remote areas or for users who want a low-maintenance setup.

Mesh Wi-Fi extenders
A weak Wi-Fi signal can ruin footage or cause your wireless cameras to disconnect. Using a mesh Wi-Fi extender strengthens the signal around your home, helping your wireless cameras stay connected and upload video smoothly.

Final Thoughts
Securing your home starts with placing cameras in the right locations. Focus on key areas like your front and back doors, driveway, garage, backyard, and any side entrances. These spots are common entry points and benefit the most from active monitoring.
Make sure to test your camera angles during the day and at night to ensure you’re capturing clear footage. It’s also a good habit to review recordings regularly to catch anything you might have missed.
Always stay aware of privacy rules and local laws when setting up your system, especially if your cameras might capture neighboring properties.
To boost your security even more, consider combining your cameras with motion-activated lights, alarms, or smart home alerts. A well-planned setup does more than just record. It helps deter crime before it happens.
Some of the links on this site are affiliate links. This means I may earn a small commission if you buy through them, at no extra cost to you. I only recommend products I truly believe in and think will add value to you.
Related Posts
Previous Post
Next Post


Climate ControlJuly 28, 2025
Can Air Conditioner Make You Sick?


Climate ControlAugust 24, 2025
Are Home Air Conditioner Tune Ups Necessary
Climate ControlAugust 23, 2025
Can Air Conditioning at Home Trigger Asthma?


- 03
Climate ControlJuly 28, 2025
Can Air Conditioner Make You Sick?

Advertisement